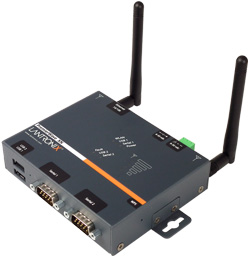
What’s a network without a printer? Sharing your printer
among the network computers is a simple process. Follow these steps:
drive, it will create an icon for the printer. You can now print to the printer in exactly
the same way that you would if it were physically attached to your PC
among the network computers is a simple process. Follow these steps:
- The first thing you must do is tell Windows 95 to redirect
printing from the LPT1 port to the network queue. To do so, double-click the Printer’s
icon in Control Panel and then double-click the Add Printers icon. - Windows 95 will open Add Printer Wizard, click the Next
button - Select the Network Printer radio button, and then click
Next again. - The Add Printer Wizard will ask you to provide the path to
the network printer. Enter it in the format: \\computer name\share name where computername
is the name of the computer to which the printer is physically attached, and sharename is
the share name that you’ve assigned to the printer. - The Add Printer Wizard also asks if you print from
MS-DOS-based programs. Click the YES radio button, and then click the Next button. - In the Add Printer Wizard’s next dialog box, select the
type of printer you’re trying to capture by selecting the printer’s manufacturer from the
Manufacturer’s list and choosing the printer model from the Printer’s list. - Click the Next button to continue.
- At this point, the Add Printer Wizard will ask you to
assign a name to the printer. This name isn’t the same as the printer’s share name.
Instead, it’s the name that your local PC will use, and it will appear under the printer’s
icon (title) and in any Select Printer windows.
drive, it will create an icon for the printer. You can now print to the printer in exactly
the same way that you would if it were physically attached to your PC

No comments:
Post a Comment