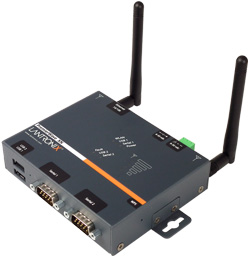
If you have a network printer or a printer connected to a print server appliance such as an HP JetDirect, you will need to connect to that printer via TCP/IP. To do so, go to Control Panel -> Printers and Faxes. Click File -> Add Printer and press next. Choose “A local printer attached to this
computer” and uncheck the box below it. When the next screen comes up, choose the radio button for “Create a New Port” and then select “Standard TCP/IP port.” A new wizard will appear so click next. Type in the IP address of the printer in the top field, and press next. If everything went right, you should have a new port. Sometimes, Windows has a tough time detecting the printer, and you have to configure the settings manually. If all else fails, keep clicking next. Eventually you should be lead back to the original screen that you were at, and you should choose “Use the following port” this time, selecting the TCP/IP port that you just created. Finally, run through the rest of the dialogue (drivers and such) as you would do for any printer. Note that some printers require that you connect to them on a special TCP/IP port number, and that must be manually configured.
computer” and uncheck the box below it. When the next screen comes up, choose the radio button for “Create a New Port” and then select “Standard TCP/IP port.” A new wizard will appear so click next. Type in the IP address of the printer in the top field, and press next. If everything went right, you should have a new port. Sometimes, Windows has a tough time detecting the printer, and you have to configure the settings manually. If all else fails, keep clicking next. Eventually you should be lead back to the original screen that you were at, and you should choose “Use the following port” this time, selecting the TCP/IP port that you just created. Finally, run through the rest of the dialogue (drivers and such) as you would do for any printer. Note that some printers require that you connect to them on a special TCP/IP port number, and that must be manually configured.

No comments:
Post a Comment